Facebook Outbound App
Set up the Facebook app
Basic
This task will show how to send a single message and link that will be posted to the Facebook account that you will specify. Since this is for a single message, the Facebook element in this example is not dependent on any other elements on the Studio Canvas. The message will be posted on Facebook at the time specified in the Schedules tab.
Prerequisites:
Before getting started, you should have completed the following tasks:
- Create an account on Facebook
- Create a Program in Studio
- Create a Campaign in Studio
Instructions:
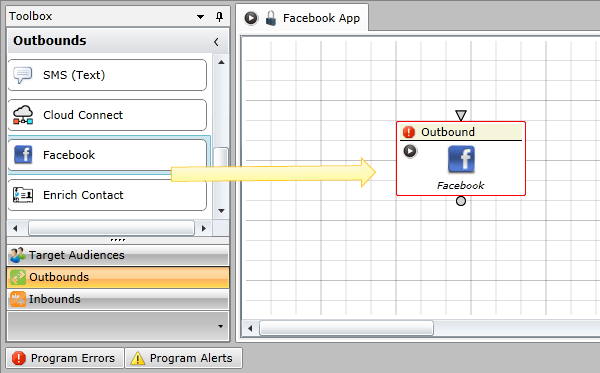
1. Drag the Facebook App onto the Studio Canvas
- Double-click the element that you just dragged onto the canvas
2. Configure the General tab
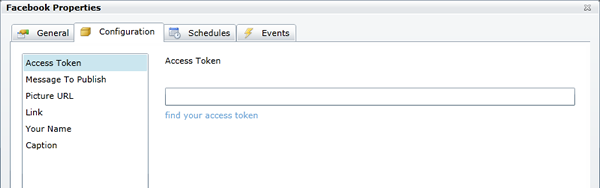
3. Click the Configuration tab
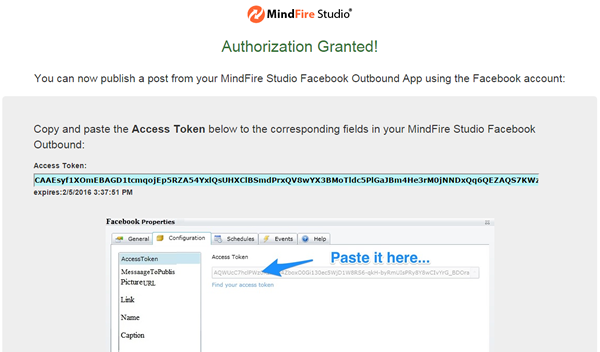
- Select Access Token, then click "Find your access token"
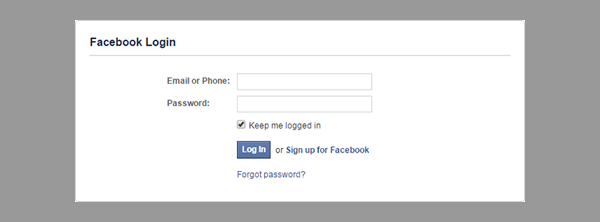
- A browser screen will open to allow you to authorize the MindFireInc Facebook Application (you may need to login first)
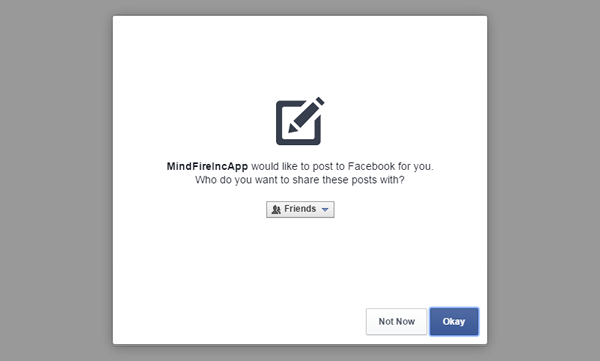
- Click "Okay" to allow the MindFireIncApp to have access to your public profile.
- For the current task, the Facebook App will only be posting messages to this authorizing account and will not be accessing any profile information.

- Click "Okay" to allow the MindFireIncApp to post to this account (that you used to log in)
- A screen will be displayed that will display the Access Token. Copy and paste this into the Configuration tab in Studio.
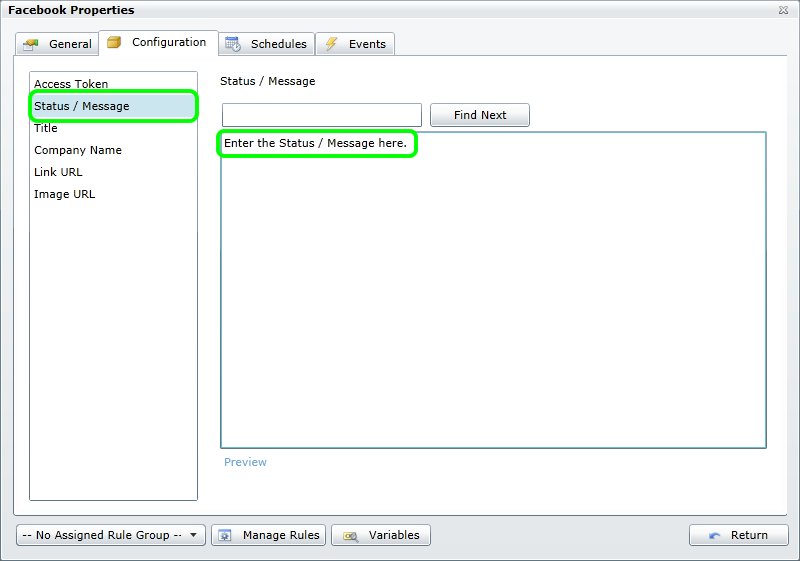
- Click "Status / Message"
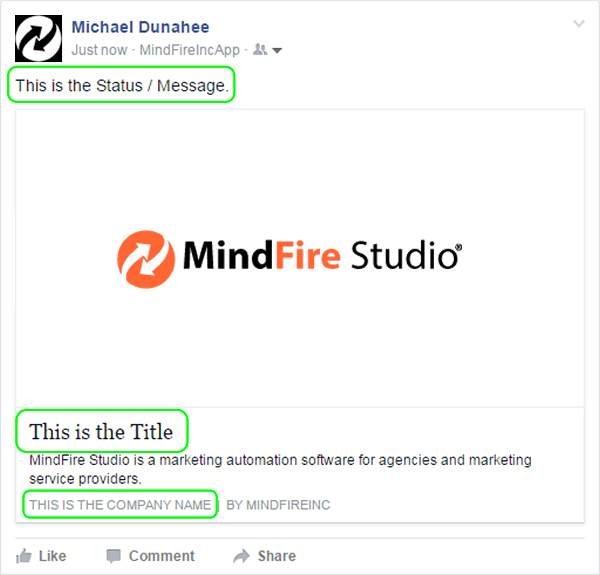
- Enter a message in the Status / Message box.
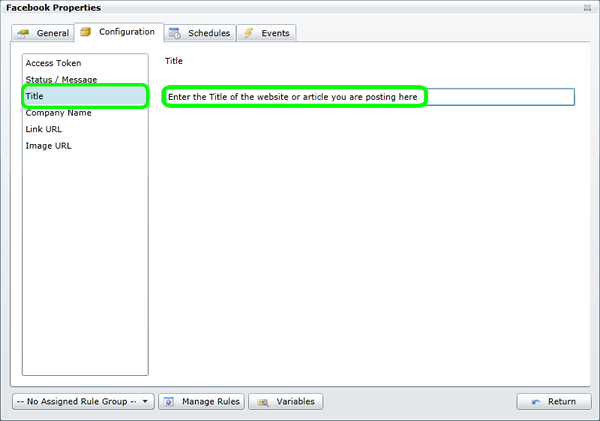
- Click "Title"
- Enter a title in the Title box for the website/article link that you are posting.
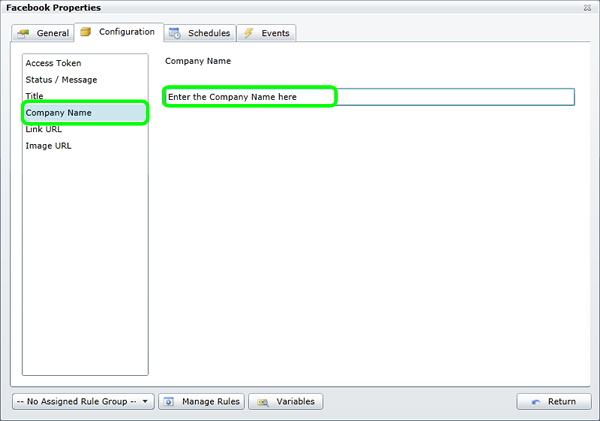
- Click "Company Name"
- Enter the Company Name that you would like to appear with the website/article link that you are posting.
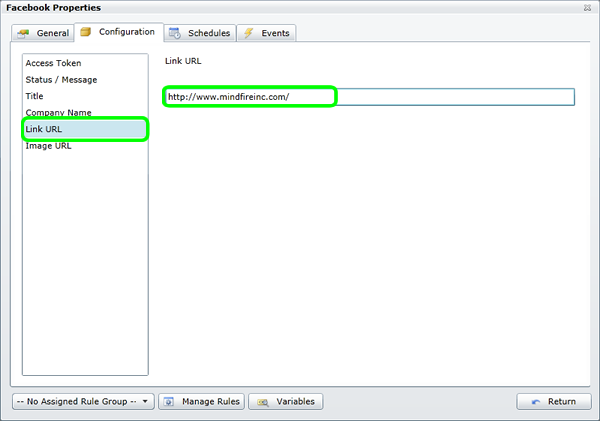
- Click "Link URL"
- Enter the URL in the Link URL box for the website/article link that you are posting.
- Click "Image URL"
- Enter a URL for the image that you would like to post with the website/article (for example, an image from the article, your company logo, etc.).

4. Click the Schedules tab - Add a basic schedule
5. No configuration is necessary under the Events tab
6. Publish your Program
Here is what the Facebook post will look like:
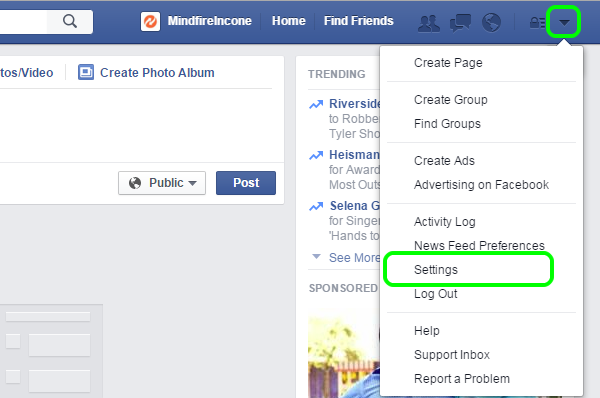
1. On Facebook, click on the small down arrow and select Settings
2. Select "Apps" and click the X to remove the MindFireIncApp
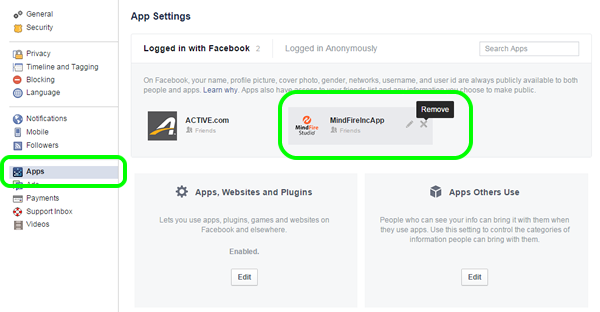
3. Confirm App Removal

To restore app access, follow the steps above to Configure the Facebook Outbound App in Studio