Every Account in the Studio has a centralized Contact database (repository) which is used by any applicable marketing program within that Account. You can add any number of Custom Fields to your Contact database, to hold Account-specific information about your Contacts.
As Programs are executed, Contact behaviors are collected and stored to enrich the Contact's profile. This information can then be used to improve subsequent campaigns, and to make follow-up communication more specific to individual Contact behavior.
The Contact database can be initially populated by Contacts interacting with Inbound Elements, which get added as new Contacts, uploaded or manually entered by Users, or synced from third-party customer relationship management (CRM) applications (like Salesforce.com), and so on.
When Contacts are added, they are intelligently de-duped using User-controlled rules. Contacts may be edited, updated, flagged as deleted using tools provided by the Studio's Contact Management section.
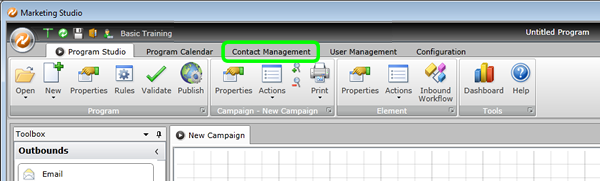
1. Click on the Contact Management tab in Studio
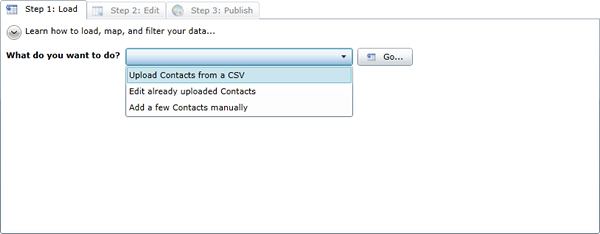
2. Select "Upload Contacts from a CSV" and click "Go"
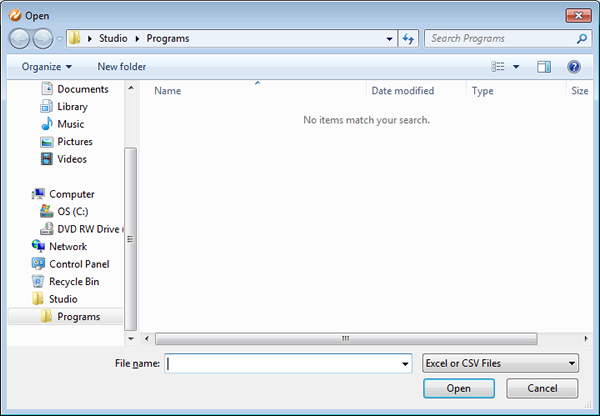
3. Browse to the file, click "OK"
4. Map the columns to the corresponding Contact fields
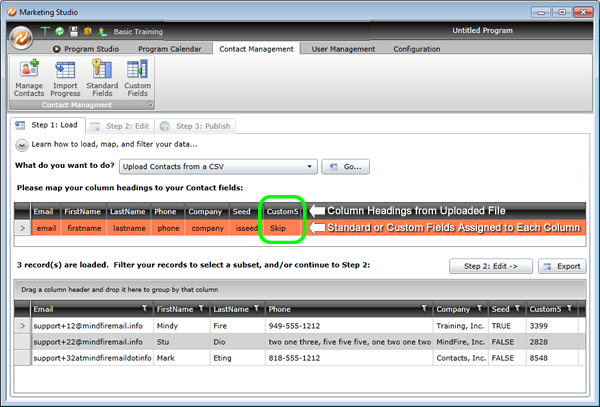
The system will try to do this automatically. If a column/field selection is incorrect, click on the column header, then click on the down arrow and select the correct field.
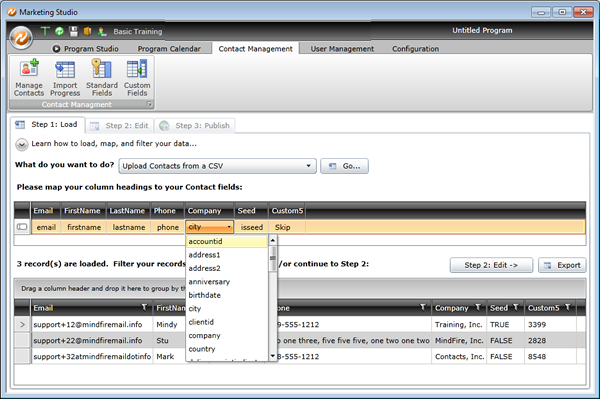
For fields in the file that are not included in the Standard Fields, Custom Fields will need to be created.
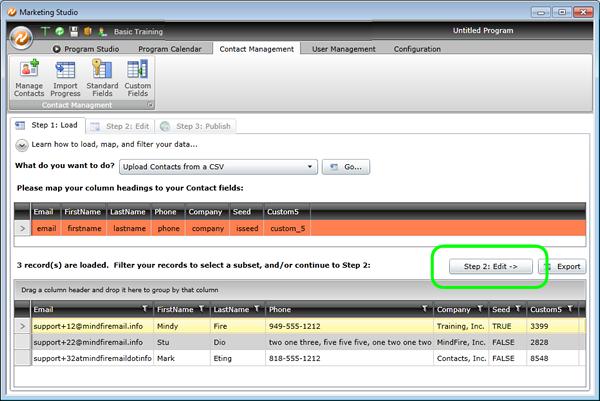
5. When all fields have been correctly assigned,
click on "Step 2: Edit."
The system will attempt to validate the contents of each field based on the parameters for each field. If any field generates an error, it will appear here. For example, the format of the phone number for Stu Dio is not correct and the email address for Mark Eting is missing the "." and the "@" sign.
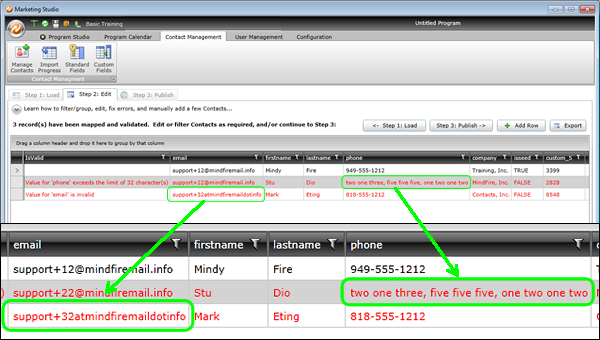
This file can be corrected offline (in another program), or it can be corrected directly in this screen. Just type the correction into the appropriate field.
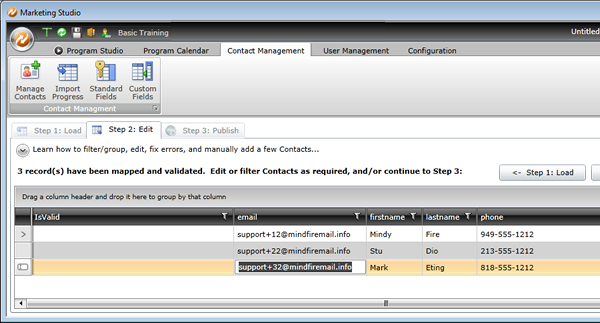
6. To add additional records manually, click on "Add Row" and enter the necessary information.
7. It is important to have a name for this import (e.g. "November 2015 Leads") for easy access in the future. Also, check the box to include the list in the Standard Filter (this means that this group of users can be considered a distinct group, if necessary).
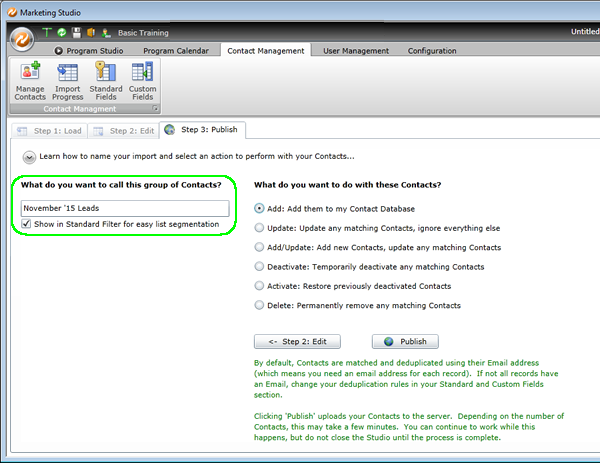
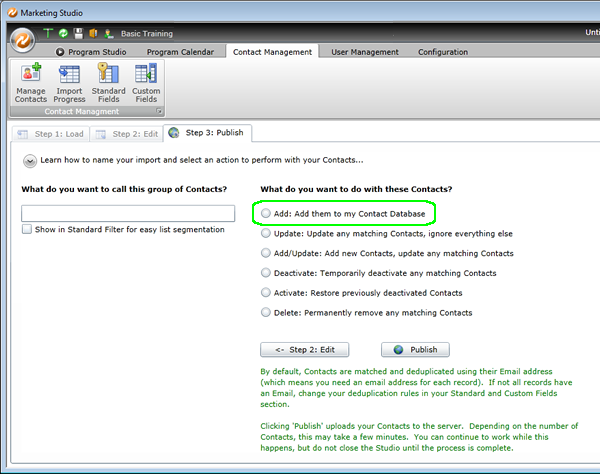
8. If you are only adding new records, select "Add" and click on Publish.
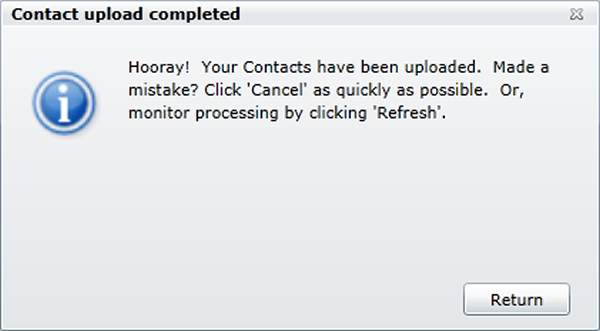
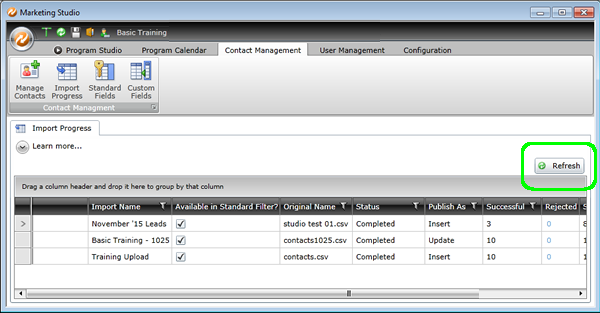
9. The Import Progress screen will be displayed. Click "Refresh" to see the current status of each import.